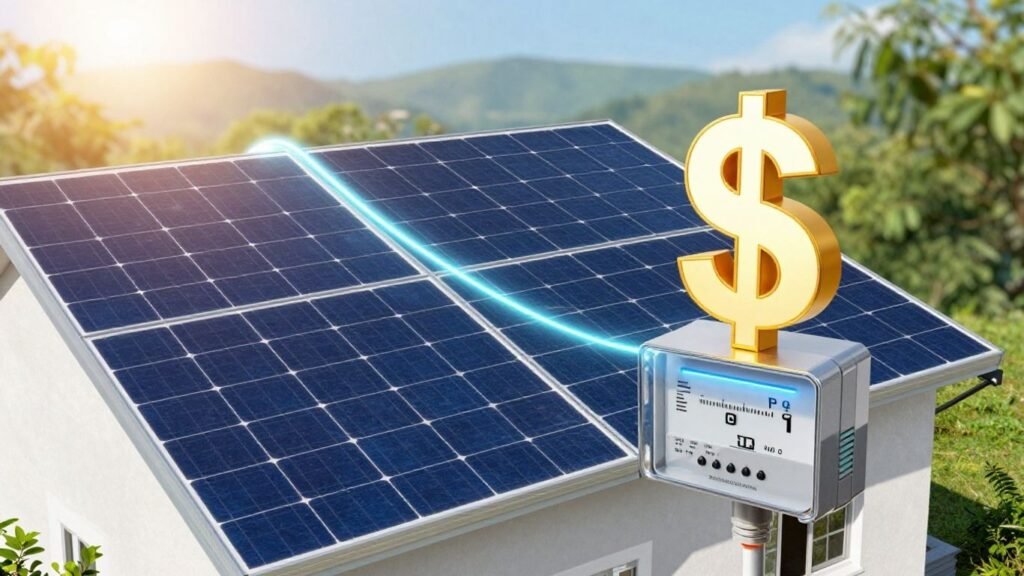
To set up a solar panel system, I first calculate my power load by listing all devices and their wattage. Next, I choose the right solar panel array and type based on my energy needs.
I choose a portable power station that fits my needs. Then, I buy balance system parts like a charge controller and inverter.
After mounting the solar panels, I connect them to the battery. If you’re curious about the finer details, there’s more to explore.
Calculate Your Power Load

Calculating your power load is an essential first step in setting up your solar panel system. First, I list all my devices and appliances. I check their wattage and estimate how long I use each one each day. By multiplying the wattage by the hours of use, I can calculate the total energy needed in watt-hours.
The average American household uses about 10,632 kWh each year. This is about 886 kWh per month. It can help as a useful guideline.
Once I know my energy requirements, I can determine how many solar panels I need.
To plan for solar panel installation, I use this formula:
Number of panels = Total annual kWh / Production ratio / Panel wattage.
This helps ensure the panels will meet my energy needs.
Choose Your Solar Panel Array

Choosing the right solar panel array is key to boosting energy production and efficiency.
I started by figuring out my total energy use. I used the average American household’s 886 kWh per month as a guide.
To find out how many panels I needed, I took my yearly energy needs. Then, I divided that by the production ratio and the wattage of the panels, which is 400W.
I looked at three main types:
- Monocrystalline for efficiency
- Polycrystalline for cost
- Thin-film for portability
I need to make sure the panels I pick fit well with my other system parts, like the inverter and charge controller.
I checked the local sunlight and shading. This helped me find the best spot for my solar panel array.
Select the solar panel type.

When it comes to choosing the right solar panel type, I’ve found there are three main options to evaluate: monocrystalline, polycrystalline, and thin-film panels.
Monocrystalline panels are very efficient, typically ranging from 15% to 22%. This makes them perfect for small spaces.
Polycrystalline panels are more affordable but have lower efficiency ratings, typically around 13-16%. Thin-film panels are light and easy to move. However, their efficiency varies from 7% to 18%.
When choosing solar panels, think about the production ratio. It shows how much energy you can generate from sunlight.
Consider your installation needs and space. This will help you pick the best solar panel type for your situation. This choice will greatly impact your system’s performance.
Select the Portable Power Station.
After you’ve chosen the right solar panel type, the next step is finding a portable power station that fits your energy needs.
I always suggest checking the battery type. Lithium-ion batteries usually last longer and work better than lead-acid ones.
Check that the power station’s capacity meets your energy needs. Look at the watt-hour rating of your devices. Overloading could cause problems.
Choose a portable power station with various output options. Look for AC, USB, and DC ports for more versatility.
Check that your solar panels are compatible. This will help ensure efficient charging.
Also, think about weight and portability. Lighter models are easier to carry for outdoor trips or emergencies.
Buy the Balance System.
Buying the balance of system (BOS) components is a key step in setting up your solar panel system.
The BOS has all you need except for the solar panels. It includes the charge controller, inverter, wiring, and mounting structures.
Start with a good charge controller. It controls the voltage and current from the panels. This helps prevent overcharging the battery.
Don’t forget the inverter. It changes the direct current (DC) from the panels into alternating current (AC) for your appliances.
You’ll also need reliable wiring, like MC4 connectors, for secure connections.
Finally, select the right mounting options. You can choose from ground mounts, roof mounts, or pole mounts. This way, you’ll maximize sun exposure and keep everything structurally sound. This way, you’ll have a complete and efficient solar setup.
Gather the necessary tools and components.
With the balance of system components secured, it’s time to gather the necessary tools and components for your solar panel setup.
Start by making a checklist. Include solar panels, a charge controller, an inverter, batteries, and wiring materials.
Make sure to select the type of solar panels that best fit your needs, like monocrystalline for efficiency or polycrystalline for cost-effectiveness.
Pick a charge controller that fits your solar panel and battery specs. MPPT options can give you better efficiency.
Don’t forget the tools! You’ll need screwdrivers, wrenches, wire cutters, and safety gear. It’s vital to ensure all components work well together. This is especially true for the inverter’s power rating and your calculated load. Let’s get ready for installation!
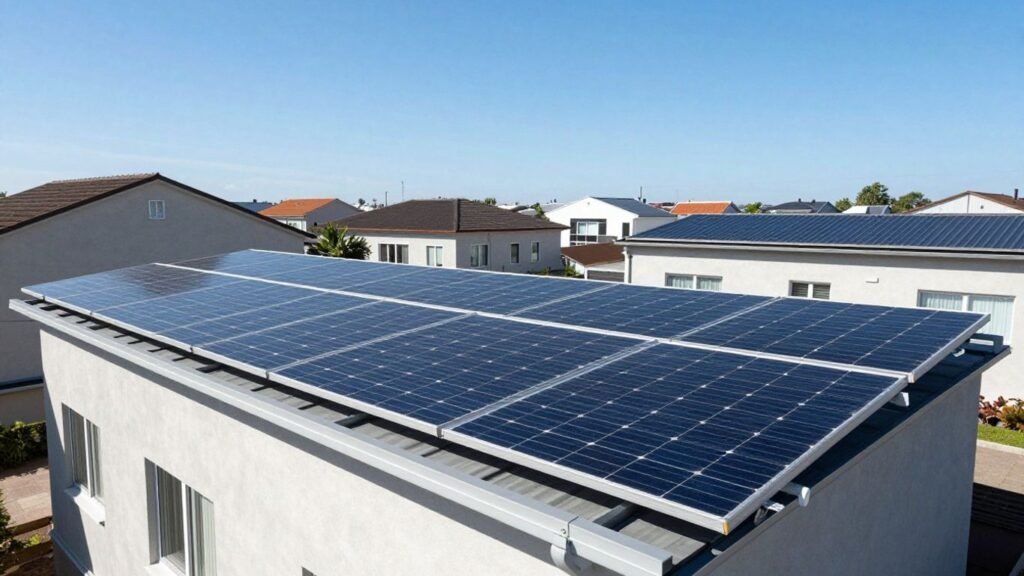
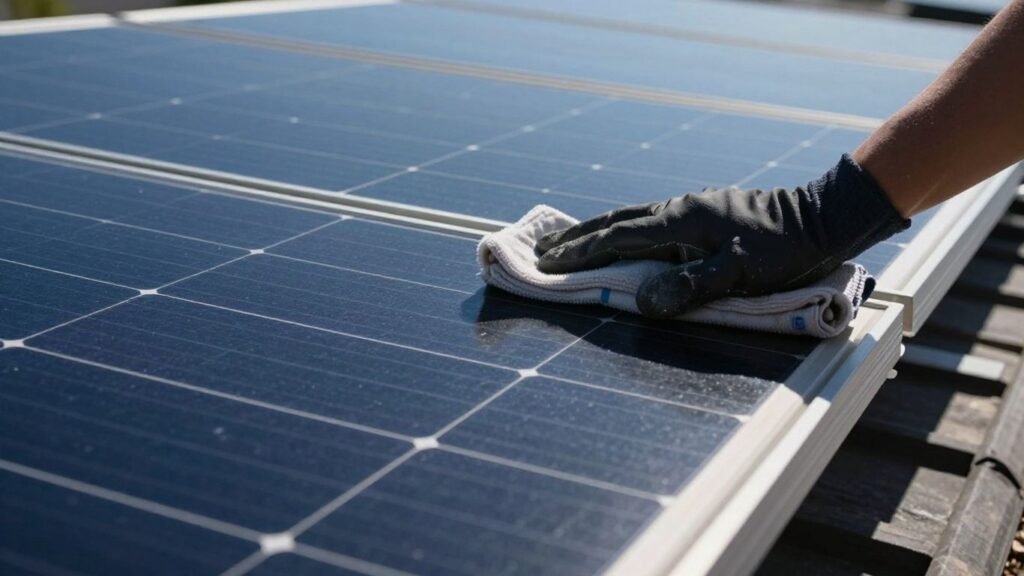
Mount the solar panels.
Mounting the solar panels is an essential step in your solar panel system setup. First, check that the mounting structure is stable. This could be your roof or the ground. It needs to handle different weather conditions.
I point solar panels south in the Northern Hemisphere. In the Southern Hemisphere, I point them north. This way, they get the most sunlight.
Set the tilt angle between 18 and 36 degrees. This will help you capture more energy all year. Use high-quality mounting brackets and hardware. This secures the panels well. It helps them withstand wind and other stresses.
I double-check my installation to ensure it meets local building codes and regulations. This keeps everything safe and legal.
Connect the solar panels to the battery.
Now that we’ve mounted the solar panels, it’s time to connect them to the battery. I’ll share key wiring setups and tips for matching battery voltages. This will help ensure everything runs smoothly. Plus, I’ll highlight the safety precautions you need to take during this process.
Wiring Configuration Options
When you connect solar panels to a battery, consider the wiring setup. This ensures top performance and safety.
You’ve got a couple of wiring configuration options: series or parallel. In a series setup, you boost the voltage. This is useful when your battery needs a higher voltage input.
A parallel configuration keeps the same voltage but increases the current. This setup is great for systems that need more power.
No matter what you choose, ensure the total voltage and current match your battery’s specs. This will help avoid overloading.
Remember to install a charge controller between the solar panels and the battery. It controls voltage and current flow. This helps with efficient charging and extends battery life.
Battery Voltage Matching
Connect your solar panels to the battery. Make sure the panel voltage matches the battery’s rating. This is usually 12V, 24V, or 48V.
If the voltages don’t match, you can damage your battery. This could also hurt the system’s efficiency.
I recommend using a charge controller. It regulates the voltage and current from the solar panels. This prevents overcharging and helps the battery last longer.
When you connect the panels, series connections raise the voltage. In contrast, parallel connections keep the voltage the same but increase the total current.
Also, make sure the positive terminal of the solar panel connects to the positive terminal of the charge controller. Correct polarity is key to avoiding system failure!
Safety Precautions Required
To connect solar panels to the battery, pay close attention to safety. This helps protect your system from damage.
First, cover the solar panels or disconnect them from sunlight. This helps prevent high voltage damage during installation.
Always connect the positive (+) and negative (-) terminals correctly when linking solar panels. This prevents reverse polarity, which can damage your components.
Use the right size and insulated wiring. This will handle the current load well. It also reduces the risk of overheating and electrical fires.
Connect the charge controller to the battery first. It controls voltage and stops overcharging. Check all connections often for corrosion or damage. This keeps your solar power system safe and efficient.